Tag: Python

The tag for Programming Languages posts about Python programming.

  • The Infected Land: A CLI Game I Wrote In Python

    The Infected Land: A CLI Game I Wrote In Python

    I recently created, and updated a new technical project that’s available to download from this GitHub repo: The Infected Land. In this post I will discuss the following topics about this web application:

    1. Why I created it
    2. The code running it
    3. My future plans for the game

    Why I Created The Infected Land

    The main reason I created this game because I wanted to practice my Python skills after taking various refresher courses on YouTube. (You can read why I refreshed my skills here.) I wanted to practice both Object Oriented Programming (OOP) and taking in user input. Creating a game seemed the easiest, and most fun, option for me. Plus, it gives me the chance to write a story and some character development since I had to put writing to the side to focus on programming.

    The Game’s Storyline

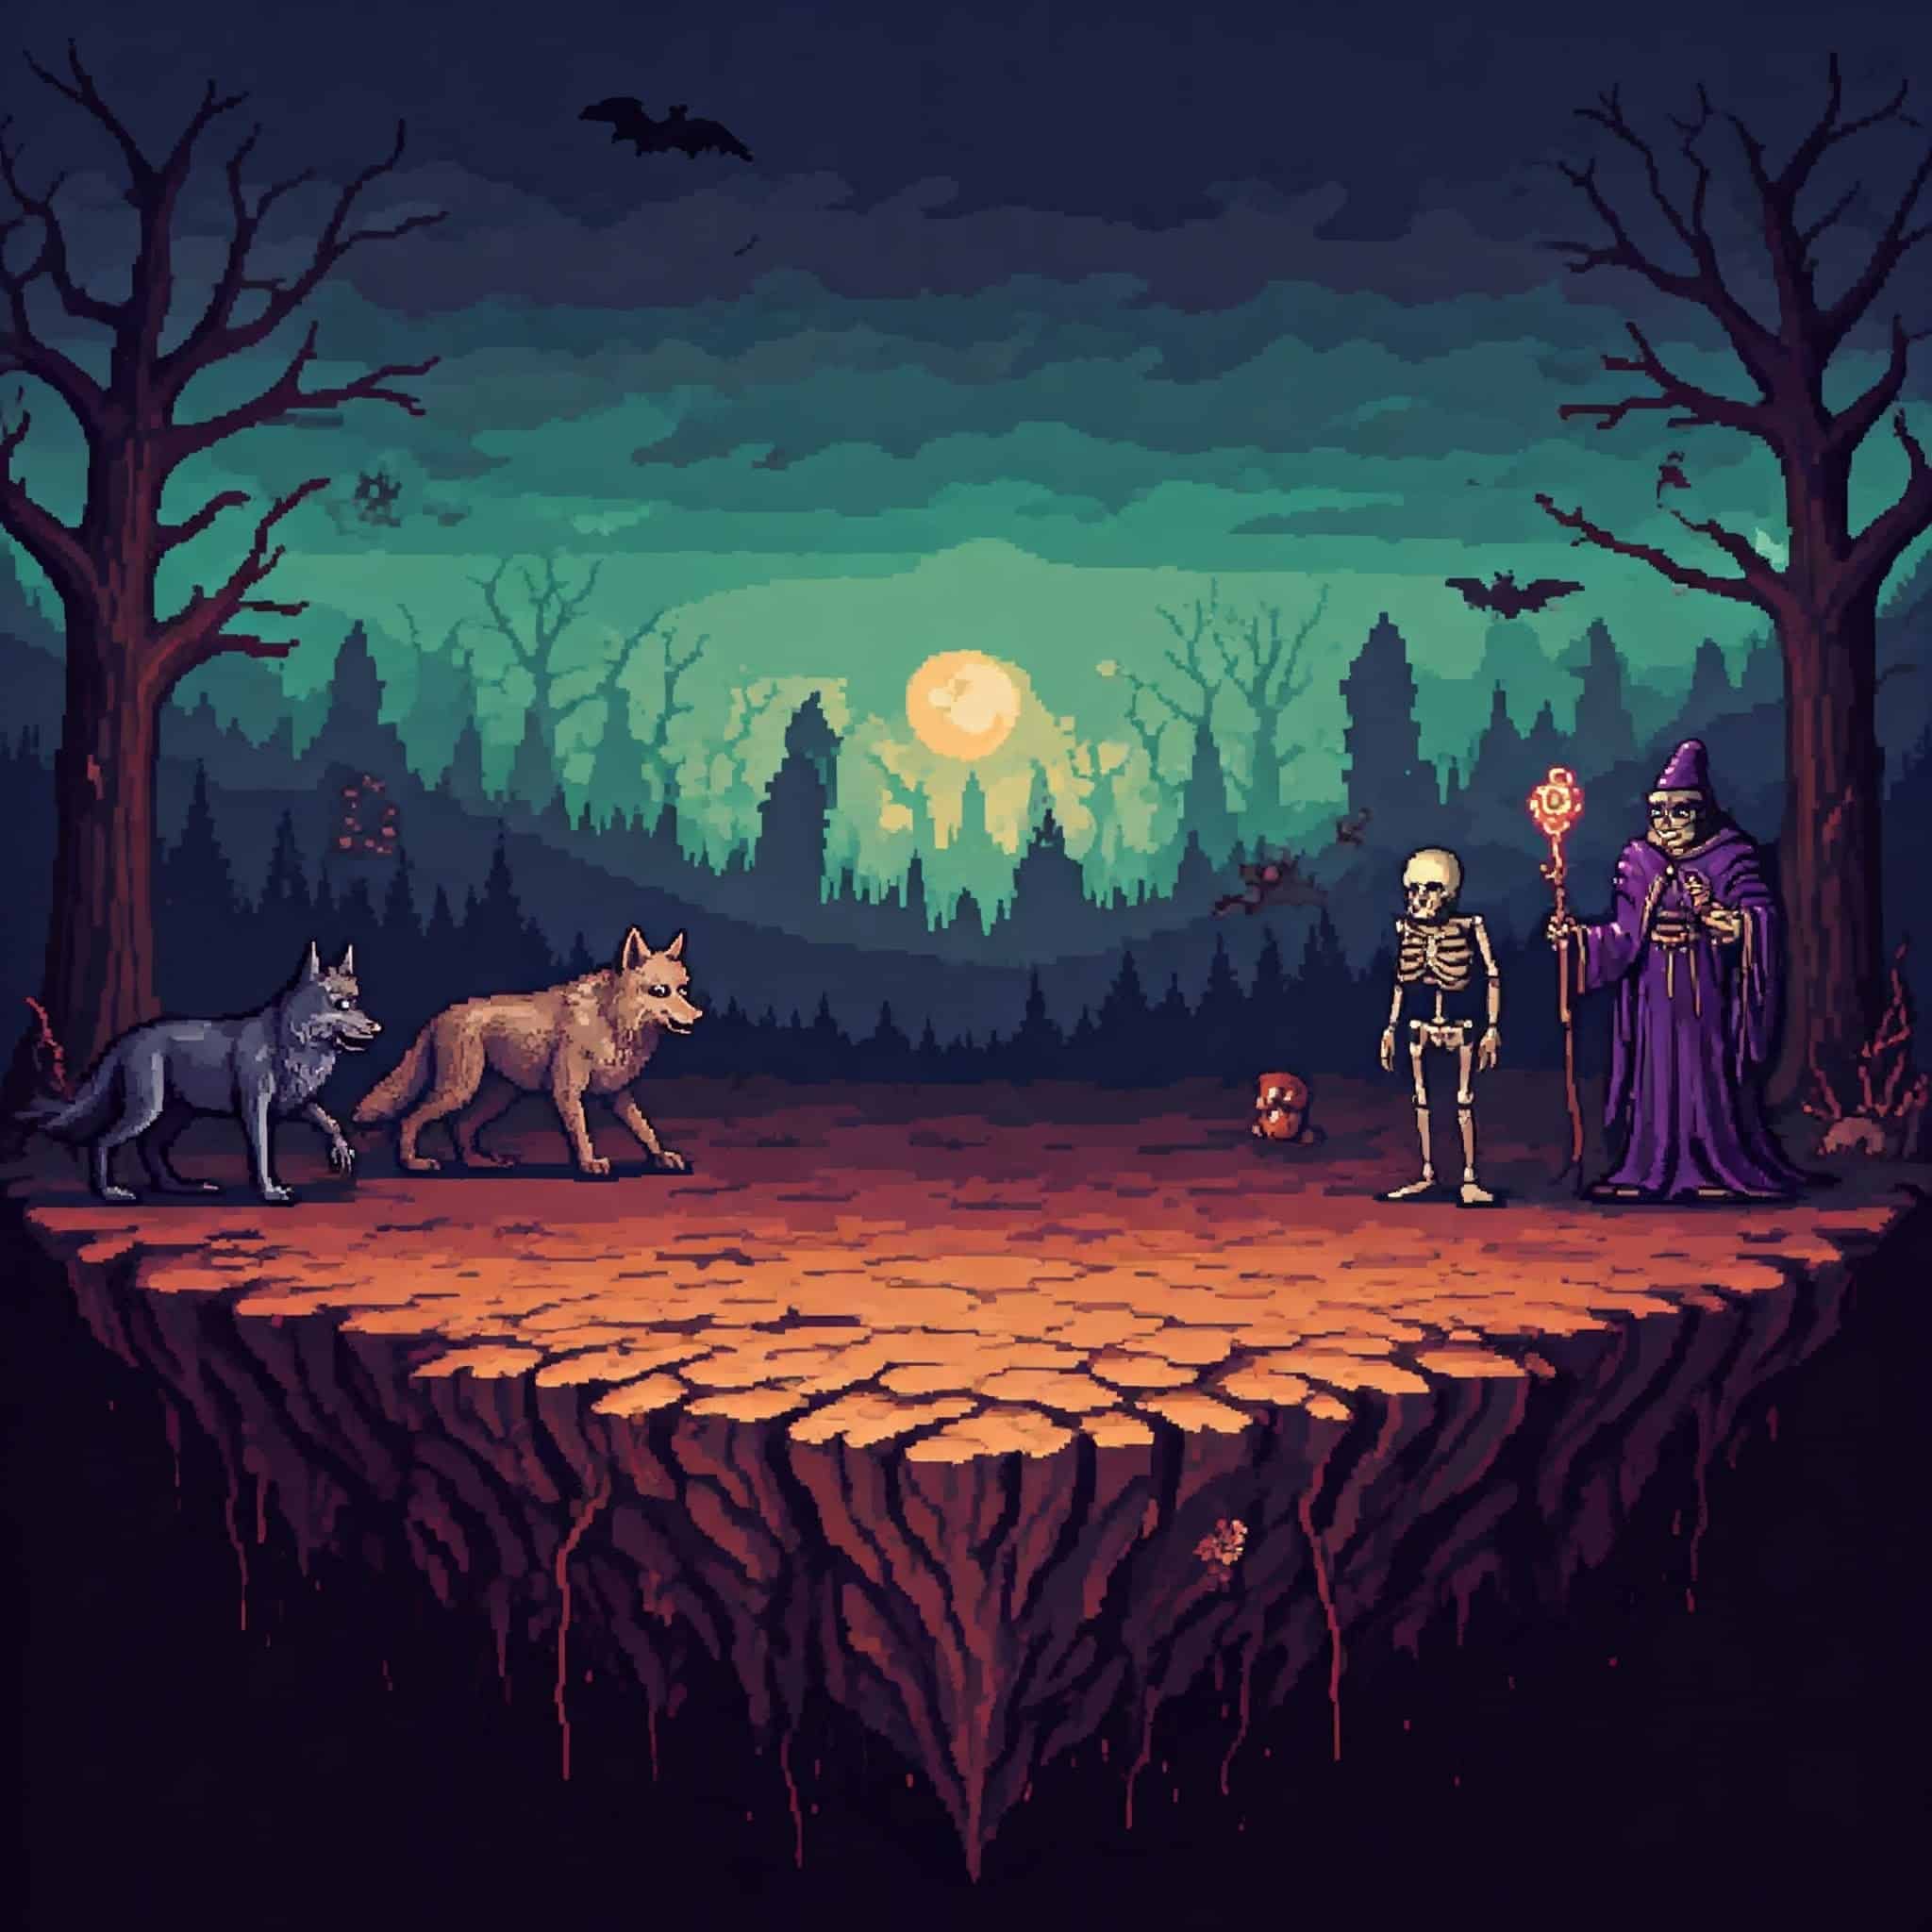
    The Infected Land is a Command Line Interface (CLI) game where you (as the Hero) must defeat the Villain’s evil creations to cleanse the infection harming the land and its residents.

    There are three battles in the game:

    1. Beast battle
    2. Non-beast battle
    3. Human battle

    As the player progresses through the game an malevolent voice of the VILLAIN appears. The player learns more and more about the VILLAIN, and even about Hero.

    There is also a chance after ever battle for the Hero to restore a portion of their health, and improve their battle gear by choosing a more powerful sword or better armor.

    The final battle of the game pits the Hero against the VILLAIN. If the Hero succeeds then the land will heal from its infection for good, and the residents can live in peace!

    The Code Running The Infected Land

    Classes

    There’s quite a bit of code running the game. First, I’ll review the two Classes: Hero and Villain.

    Both classes have a similar Constructor function setup:

    class Hero:
        def __init__(self, name: str, class_type: str, race_type: str,         weapon_type: str, weapon_damage: int, armor_type: str, armor_defense: int, health: int)
    class Villain:
        def __init__(self, name: str, class_type: str, race_type: str, beast_type: str, weapon_type: str, weapon_damage: int,              armor_type: str, armor_defense: int, health: int)

    The major difference between the two Classes is that the Hero class’ “name” parameter can be modified by user input. If the user doesn’t provide a name, I created some code to give the player a default name of “HERO.”

    The Hero class contains the methods that takes in the user’s input to fight the evil creature in each battle. Here’s a snippet of the code for the Beast battle, which is the first battle in the game:

    def hero_attack_beast(self) -> None:
            """Takes input from the player to attack the beast Villain.
            :return: None
            """
            random_num = random.randint(0, 1)
            print()
            print(center_text("-" * 80))
            print(center_text(f"{hero.name}, choose your action: (A) Attack or (B) Block."))
            print(center_text("-" * 80))
            print()
            user_input = input("Enter your choice here: ").capitalize()
            try:
                if user_input == "A":
                    if random_num == 0:
                        print()
                        print(center_text(f"!! {hero.name} slashes at the {random_beast.name} with their sword !!"))
                        attack_sleep_print()
                        print()
                        print(center_text(f"-- {random_beast.name} fails to dodge the attack --"))
                        attack_sleep_print()
                        print()
                        print(center_text(f"!! {self.weapon_type} does {self.weapon_damage - random_beast.armor_defense} points of damage !!"))
                        random_beast.health -= (self.weapon_damage - random_beast.armor_defense)
                        print()

    The user’s input is connected to a random number to determine if their attack or block is successful. I wrapped the user’s input in a “Try/Except” clause to deal with incorrect input. If the user does provide incorrect input, a message appears on a screen and the battle function appears again.

    As for the Villains, their attacks are automated and connected to a random number to determine if their attack was successful. Here’s a snippet of that code:

    def beast_attack_hero(self) -> None:
            """Attacks the Hero with a random beast.
            :return: None
            """
            from hero import hero  # Placing the import statement here to avoid a circular import error
            random_num = random.randint(0, 1)
            print(center_text("*" * 80))
            print(center_text(f"!! {self.name} attacks {hero.name} with its {self.weapon_type} !!"))
            print(center_text("*" * 80))
            attack_sleep_print()
            if random_num == 0:
                print()
                print(center_text(f"-- {hero.name} fails to block the attack with their shield --"))
                attack_sleep_print()
                print()
                print(center_text(f"!! {self.weapon_type} does {self.weapon_damage - hero.armor_defense} points of damage !!"))
                hero.health -= (self.weapon_damage - hero.armor_defense)

    The battle runs as so:

    1. The random Villain for the battle attacks the Hero first
    2. Then the Hero gets their turn to attack or block.
      • If the Hero chooses to block and it’s successful, that stuns the Villain and the Hero gets to attack again
    3. Then the random Villain attacks.
    4. The battle continues to run like this until either the Hero or the Villain dies.

    Text Formatting Tools

    Since this is a CLI game good text formatting is vital to a good player experience. I chose to center the text on the screen, except user input, because it looked better to me. However, I ran into a challenge at first because each player may have a different default size for their Terminal window. With the v0.1 version of the game I used the built-in “.center()” function. While that was kinda successful, the manual padding was too cumbersome.

    While building out the v0.2 version of the game I went back to Google to find better techniques on how to center the text in Python. This time I hit the jacket with the Generative AI response because it provided this bit of code:

    def center_text(text, width=None) -> None:
        """Centers the displayed text in the terminal window.
    
        :param text: The text displayed on the terminal window.
        :param width: The width of the end user's terminal window.
        :return: None
        """
        if width is None:
            width = os.get_terminal_size().columns
        return text.center(width)

    I added the comments, but basically the code uses the “os.get_terminal_size” function to get the number of columns of the terminal window. Thus, it centers the text depending on the width. I tried this out with multiple types of column sizes and it works well!

    I created other functions to delay the amount of time the text appears on screen. That way it gives the player enough time to read and follow the story.

    Wow, this post is getting long. To see the full code running this game please visit the repo here.

    My Future Plans For This Game

    After releasing v0.2 of the game I’m pretty much done for what I wanted to accomplish with the game. I don’t see myself adding any additional content to it. Instead, I’ll probably make a new game like one of those old school CLI dungeon crawlers.

  • Learning Programming From YouTube University

    Learning Programming From YouTube University

    I’m currently learning programming from YouTube University. This is after using other online learning websites like Udemy and Coursera. I will go into detail why I chose to use YouTube over those websites in a future post. In this post I’ll cover the channels I watch/subscribe to, and what content I’m consuming.

    Learning Programming From YouTube University: Focusing On Python

    I’m focusing on the Python programming language so most of the videos I watch is about that language. I started out with a refresher from the FreeCodeCamp channel using this video since I already know the language. Then I progressed to refreshing my Object Oriented Programming (OOP) skills using another video on their channel. Both of these videos were great because they were concise and presented by knowledgeable trainers/presenters. That’s why I suggest the FreeCodeCamp channel to anyone interested in learning to code.

    In addition to that channel I also recommend the Indently channel because the creator does an awesome job of explaining Python topics and concepts in a simple and clear fashion. The creator also provides both Shorts and long-form content to explain how to use concepts like like decorators to how to write well-defined functions. This channel is also informative because the creator covers the latest updates to the Python programming language (version 3.13).

    “Taking” Harvard’s CS50 Class

    Oh yes, as part of my learning programming from YouTube University regiment I’m “taking” Harvard’s CS50 course. Well, maybe I should say watching because that’s what I’m doing. I’m watching the videos from the 2024 version collected in their course playlist on the CS50 channel.

    I know this course has its admirers and haters. I’ve watched videos from both camps to learn about the pros and cons of the course. With that in mind I’m watching each lecture with a neutral mindset as I want to develop my own opinion about the course. So far I’ve finished Lecture 0 and slowly progressing through Lecture 1. I’m taking my time so I can actually learn the information provided.

    Learning Programming From YouTube University: YouTube Premium Is Necessary

    I wouldn’t suggest anyone take on this endeavor without purchasing YouTube Premium as the constant ad interruption will disruption learning. I understand the cost can be prohibitive for some, but it’s worth it! As a long-time subscriber to the service, YouTube Premium makes navigating between different types of videos a breeze. I don’t worry about unskippable ads, or worrying about an ad break popping in when a particular tutorial or lecture gets good.

  • Quick Black History Facts: An Introduction

    Quick Black History Facts: An Introduction

    One of my technical projects I updated recently is Quick Black History Facts (which you can visit here). In this post I will discuss the following topics about this web application:

    1. Why I created it
    2. The code running it
    3. My future plans for the web application

    Why I Created Quick Black History Facts

    The reason why I created this web application starts in 2018. That year I taught myself the Python programming language from a course on Udemy. Then in 2019 I improved my Python skills by creating more projects. One of those projects was Quick Black History Facts (which was formally called Black History Facts Generator). February was fast-approaching and it was time again for me to celebrate Black History Month.

    During that month I would tweet random facts on my Twitter account, but that’s time-consuming. This manual process is perfect for a computer program, and I thought about creating one to connect to the Twitter API. That way the random fact would tweet out automatically. Thus, I started devising my plan.

    The Plan’s Objective Changes

    As I worked on this project further, the objective of what I wanted to accomplish changed. It changed because my programming skill-set to use the Twitter API was not strong enough. Frankly, I was out of my depth. So I pivoted to building a website to display the facts because I was familiar in website design.

    The Code Running Quick Black History Facts

    All the code can be found on the project’s GitHub repo.

    Front-End Code

    I used Bootstrap to build out the Front-End of the website because of the following reasons:

    • Ease to use
    • Rich responsive website design features
    • Offers good performance

    In addition to Bootstrap I use regular (or vanilla) HTML and CSS to build out the Front-End.

    Back-End Code

    I used Python and Flask to build out the Back-end of the website. I chose to use Flask over Django because it requires much less code to spin up a simple application.

    The Python code to display the random fact on the screen is in these three lines of code:

    with open("static/files/black_history_facts.txt", "r") as facts:
        fact_list = facts.readlines()
    return render_template('index.html', black_history_fact=random.choice(fact_list))

    Let’s go through the code line by line:

    1. All the facts are in a text file delimited with a newline at the end of each sentence.
    2. Using “with open” to open that file as read-only and read the contents using a loop.
    3. The loop iterates over each individual line in the text file with the “readlines” Python built-in function.
    4. A list stores each individual fact.
    5. Using Flask’s “render_template” function and Python’s built-in function “random.choice” a random fact from the list displays on the screen.

    My Future Plans For This Application

    I don’t have any major plans to modify the code for Quick Black History Facts. My only plan is to add more Black History facts to the text file. I’ll start doing that in January 2025.

  • Learn Python Using The FreeCodeCamp YouTube Channel

    Learn Python Using The FreeCodeCamp YouTube Channel

    For anyone wanting to learn a programming language I tend to suggest Python. It’s the first language I learned so there’s some bias with my answer. There’s various ways to learn any programming language, including Python, from going to college to buying Udemy courses. I have nothing against those options, but I rather someone get started for free. That’s why I suggest to learn Python using the FreeCodeCamp YouTube channel.

    Here’s Why You Should Learn Python Using The FreeCodeCamp YouTube Channel

    The main reason why I suggest individuals use FreeCodeCamp’s YouTube channel becuase it’s free! I rather someone invest their time than their money in a new topic they may or may not like. While some may feel bad for wasting their time on watching one or more videos if they discover they don’t like programming, they won’t feel as bad if they wasted money on courses or even attending a bootcamp.

    That’s something I see too often with those new to programming. They rush to Udemy to buy course after course that’s on sale. Many of those people start watching one or more of their courses, but few completely finish watching all the videos and completing all the coursework. Others get the idea to attend a bootcamp or a college after getting ads for them while researching their options. The problem I have with this is that both are quite expensive and require a long time committment. (Although a bootcamp is shorter than getting a college degree, most last for several months.)

    Another reason to learn Python using the FreeCodeCamp YouTube channel is the high-quality of the videos along with the extensive knowledge of their instructors. In addition, their videos are easy to follow and separated into chapters. Thus, any student can learn by one chapter at a time, or consume the entire video in one sitting.

    Here’s a video I highly recommend to beginners:

    It’s about 4 hours and thirty minutes in length, but the instructor and the training material is so good the time flies by! This video is 3 years old, meaning outdated information pops up. I saw this in the chapters helping the viewer install Python onto their computer and the PyCharm IDE.